If you want to skip the deep dive and get straight to planting today, here is your 5-step blueprint:
-
Find Your Sun: Identify a spot (balcony, patio, windowsill) that gets at least 6 hours of direct sunlight daily.
-
Choose Large Containers: Go bigger than you think. A 5-gallon (19-liter) pot with drainage holes at the bottom is the golden standard for most vegetables.
-
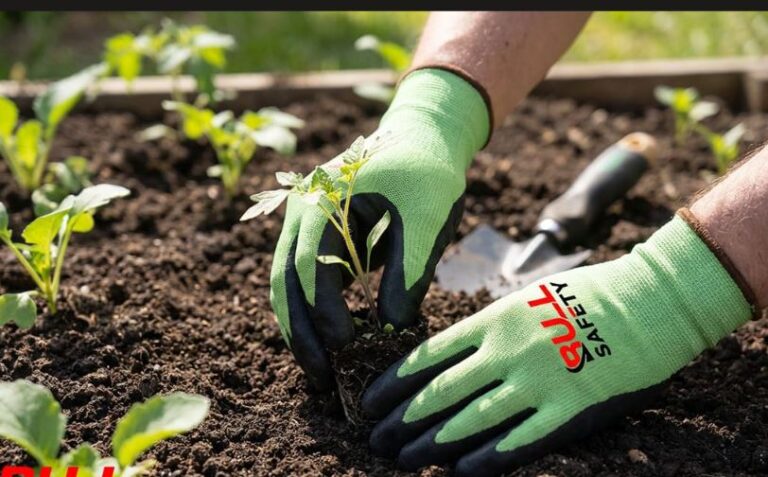
Use Potting Soil, Not Dirt: Never use ground dirt. Buy a high-quality, lightweight “potting mix” designed for containers; it drains well and allows roots to breathe.
-
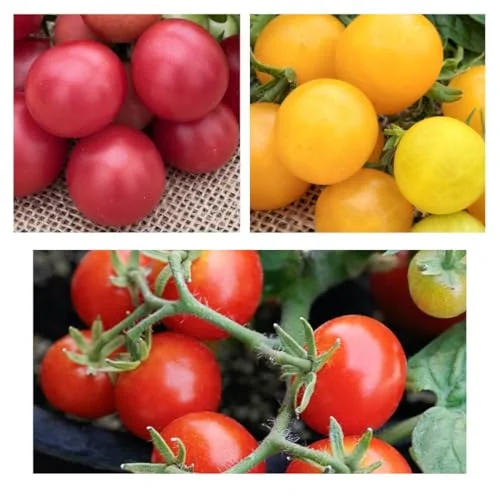
Pick Container-Friendly Crops: Start with cherry tomatoes, bush beans, lettuce, radishes, or peppers.
-
Water Like Clockwork: Pots dry out incredibly fast. Plan to water deeply whenever the top inch of soil feels dry, which might be every day in peak summer.
I used to look out at my tiny, concrete apartment balcony and feel a profound sense of missing out. I didn’t have a sprawling backyard, raised cedar beds, or a compost tumbler. I had a 5×8 foot slab of concrete on the third floor. I thought growing my own food was something reserved for people with acreage.
I was completely wrong.
When I finally decided to try growing vegetables in pots, I discovered a secret: plants don’t care about your zip code. They don’t care if they are sitting on a 30th-floor balcony or in a suburban backyard. Give them sunlight, root space, nutrients, and water, and they will stubbornly, beautifully produce food.
Over the next few thousand words, I am going to walk you through exactly how I turned my sterile concrete slab into a high-yielding container garden, and how you can do the exact same thing. We’re going to cover everything from picking the right pots and mastering soil science to troubleshooting the pests that will inevitably show up. Let’s get our hands dirty.
1. The Container Garden Advantage
Before we get into the “how,” let’s talk about the “why.” Why grow in pots instead of the ground? Even if you have a yard, container gardening offers massive advantages that traditional gardening simply cannot match.
-
Total Soil Control: Ground soil can be a nightmare—full of heavy clay, rocks, or soil-borne diseases. In a pot, you create a perfect, sterile, nutrient-rich environment from day one.
-
Mobility: If a brutal heatwave is coming, you can drag your pepper plant into the shade. If a frost threatens, you can pull your tomatoes inside for the night. You chase the sun and hide from the storms.
-
Fewer Weeds and Pests: Because you are using sterile potting mix and your plants are elevated off the ground, you eliminate 90% of the weeding. You also bypass many ground-dwelling pests like slugs, cutworms, and rabbits.
-
Space Efficiency: You can grow a shocking amount of food vertically on a balcony or a small patio using trellises and railing planters.
2. Choosing the Right Containers
This is where most beginners fail. They buy a tiny, decorative 6-inch pot, shove a tomato seedling in it, and wonder why the plant is dead by July. In the world of container gardening, bigger is always better.
Roots are the invisible engine of the plant. If the roots are cramped, the plant will be stunted. Furthermore, large pots hold exponentially more moisture; a tiny pot will bake dry in a single afternoon of July sun, killing the delicate root hairs.
The Golden Rule of Drainage
Whatever container you choose—whether it’s a $50 designer terracotta urn or a $3 plastic bucket from the hardware store—it must have drainage holes at the bottom. Vegetables hate “wet feet.” If water pools at the bottom of the pot, the roots will rot, and the plant will suffocate. If your container doesn’t have holes, drill 3 to 4 half-inch holes in the bottom before doing anything else.
Material Matters
-
Plastic/Resin: My personal favorite for balconies. They are incredibly lightweight (crucial for balcony weight limits), they retain moisture very well, and they are inexpensive.
-
Terracotta/Clay: Beautiful and classic, but they are heavy and highly porous. Moisture evaporates right through the walls of the pot, meaning you will have to water much more frequently.
-
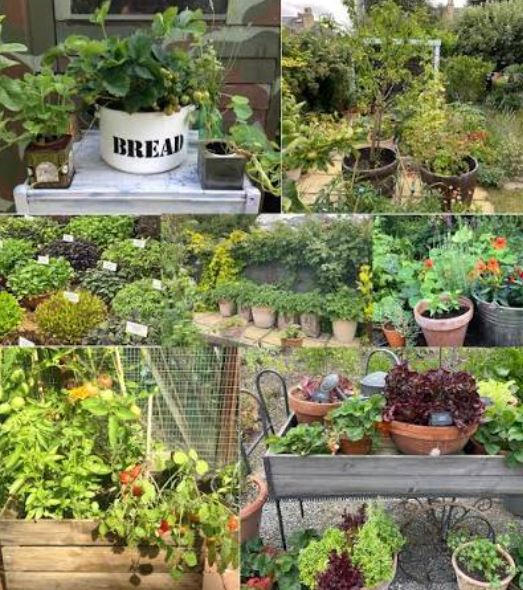
Fabric “Grow Bags”: These are fantastic. They are cheap, lightweight, and they “air prune” the roots (when roots hit the fabric edge, they stop growing in a circle and branch out, creating a healthier root system).
-
Upcycled Containers: 5-gallon food-grade buckets, old wheelbarrows, wooden crates. If it can hold soil and you can drill a hole in it, you can grow in it.
Sizing Your Pots
Not all vegetables need massive pots, but fruiting plants absolutely do. Here is a quick reference for the minimum sizes you should aim for:
-
1-2 Gallon Pots (Shallow, 6-8 inches deep): Leaf lettuce, spinach, arugula, radishes, green onions, and herbs (basil, cilantro).
-
3-4 Gallon Pots (10-12 inches deep): Swiss chard, bush beans, dwarf carrots, small pepper varieties.
-
5+ Gallon Pots (12-14+ inches deep): Tomatoes, full-sized peppers, cucumbers, eggplant, zucchini.
3. The Dirt on Soil (Never Use “Dirt”)
If there is one sentence you remember from this entire article, let it be this: Never shovel dirt from your yard into a pot.
Ground soil is heavy, dense, and full of clay or sand. When you put it in a container, every time you water it, it will compact down into a solid, impenetrable brick. Water won’t drain, and roots won’t be able to push through it.
You Need “Potting Mix”
You must use a specialized medium called “Potting Mix” or “Container Mix.” Interestingly, most potting mixes actually contain zero actual soil. They are engineered blends designed specifically for the unique physics of a container. A good mix will feel light, fluffy, and spongy.
A standard high-quality potting mix contains:
-
Peat Moss or Coco Coir: This is the bulk of the mix. It holds onto moisture like a sponge while remaining incredibly lightweight.
-
Perlite or Vermiculite: Those little white balls that look like Styrofoam? That’s perlite (super-heated volcanic glass). It creates tiny air pockets in the soil so the roots can breathe and water can drain quickly.
-
Compost or Worm Castings: The organic matter that actually provides the nutrients to the plant.
Do You Need to Replace Soil Every Year?
Potting mix is expensive, especially if you have a lot of large containers. You do not need to throw it away at the end of the season. However, by the end of summer, the plants will have sucked all the nutrients out of it, and the structure might be a bit compressed.
To reuse soil the next spring: dump it into a wheelbarrow, pull out the old dead root masses, and mix it 50/50 with brand new potting soil or high-quality compost. This refreshes the nutrient profile and restores the fluffy texture.
4. What to Grow: The Container All-Stars
When you are growing in containers, space is your most valuable currency. You want high-yield, compact plants. A sprawling heirloom pumpkin vine that takes up 15 square feet and produces two pumpkins is a terrible use of balcony space.
Here are the absolute best vegetables for container beginners:
1. Bush Beans
-
Why them: They don’t need a trellis, they fix their own nitrogen in the soil, and they grow into beautiful, compact 2-foot bushes.
-
The Container Strategy: Plant 3 or 4 bush bean seeds in a 3-gallon pot. They grow incredibly fast from seed and will produce heavy handfuls of beans within 50 days.
2. Cherry Tomatoes (Specifically “Determinate” or “Patio” varieties)
-
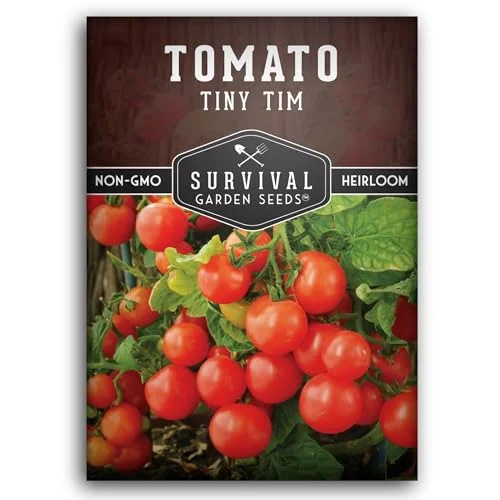
Why them: Large slicing tomatoes can be finicky in pots. Cherry tomatoes are vigorous, highly productive, and less prone to splitting or bottom rot.
-
The Container Strategy: Look for varieties labeled “Determinate,” “Bush,” or “Patio.” These are genetically programmed to grow to a manageable size (usually 3-4 feet) and stop, making them perfect for pots. Give them a 5-gallon pot, bury the stem deep when planting, and stake them early so they don’t flop over.
3. Leaf Lettuce and Greens
-
Why them: They have very shallow root systems, meaning you can grow them in cheap, shallow window boxes or wide bowls. They also tolerate partial shade, making them perfect for balconies that don’t get 8 hours of blasting sun.
-
The Container Strategy: Look for “loose-leaf” varieties rather than head lettuce (like iceberg). With loose-leaf, you can just snip off the outer leaves for a salad, and the center will keep growing back for weeks.
4. Radishes
-
Why them: The ultimate instant gratification crop. From dropping the seed in the dirt to eating a spicy, crunchy radish takes about 25 to 30 days.
-
The Container Strategy: You can densely pack a wide, shallow pot with radishes. Plant a new batch every two weeks in the spring for a continuous harvest.
5. Hot Peppers (Jalapeños, Habaneros)
-
Why them: Pepper plants are naturally beautiful, bushy, and compact. A single jalapeño plant in a 3-gallon pot can easily produce 40-50 peppers over a summer. They actually love the heat that builds up on a concrete patio.
-
The Container Strategy: Buy a transplant (a young plant) from a nursery rather than starting from seed, as peppers take a very long time to germinate and grow.
5. The Art of Container Watering
If there is a fatal flaw in container gardening, it is this: Pots dry out fast. In the ground, roots can dive deep into the earth searching for moisture. In a pot, the roots are trapped; they are entirely dependent on you.
During a 90°F (32°C) summer day, a mature tomato plant in a black plastic pot sitting on a hot patio might need to be watered twice a day.
6. Feeding Your Potted Plants (Fertilizer is Mandatory)
Here is a critical difference between ground gardening and container gardening: Every time you water a pot until it drains, you are washing nutrients out the bottom.
Because the plant is trapped in a small volume of soil, it will quickly exhaust the available food. You cannot rely on the potting soil’s initial nutrients to last the whole summer. You must feed them.
The Two-Pronged Approach
-
Slow-Release Granular Fertilizer: When you first plant your seedling, mix a handful of organic, slow-release granular fertilizer into the potting soil. These look like little pellets. Every time you water, they slowly break down and release a steady trickle of Nitrogen, Phosphorus, and Potassium over 1 to 2 months.
-
Liquid Fertilizer: Once the plant starts flowering and setting fruit, it becomes a heavy feeder. About once every two weeks, mix a liquid organic fertilizer (like fish emulsion or kelp extract) into your watering can. Liquid fertilizer is like an energy drink for plants; it hits the roots immediately and provides a rapid boost to support heavy fruiting.
7. Sunlight: The Balcony Challenge
Vegetables need energy to produce sugars, and that energy comes from the sun. Most fruiting vegetables (tomatoes, peppers, cucumbers) demand “Full Sun,” which is strictly defined as 6 to 8 hours of direct, unfiltered sunlight per day.
If you are growing on a patio or balcony, you need to track your light carefully before planting.
-
South-Facing: The jackpot. You will get intense sun for most of the day. You can grow anything, but you will need to water heavily as pots will bake in the afternoon.
-
West-Facing: Excellent. You will get strong, hot afternoon sun. Great for tomatoes and peppers.
-
East-Facing: Good. You get gentle morning sun. Great for greens, herbs, and root vegetables. Fruiting plants might grow a bit slower.
-
North-Facing: The toughest challenge. You will get very little direct sun. You cannot grow tomatoes or peppers here, but you can successfully grow shade-tolerant leafy greens (spinach, lettuce, kale, mint).
Pro-Tip for Balconies: Concrete and brick walls absorb heat during the day and radiate it at night. This creates a microclimate on your balcony that is often a full zone warmer than the surrounding area. Plants love this radiant heat, but it means your pots will dry out even faster.
8. Managing Pests in Containers
Because your plants are elevated and separated from the native soil ecosystem, you naturally avoid a lot of ground-dwelling pests. However, flying insects will still find your balcony.
The biggest container garden villains are usually:
-
Aphids: Tiny green or black specks that cluster on new growth and suck sap.
-
Spider Mites: Microscopic red mites that thrive in hot, dry conditions (like a baking patio). They create fine webbing on the leaves.
The Organic Defense Strategy
Your first line of defense is a simple blast of water. Put your hose nozzle on the “shower” setting and physically blast the aphids off the leaves. They are weak climbers and rarely make it back up.
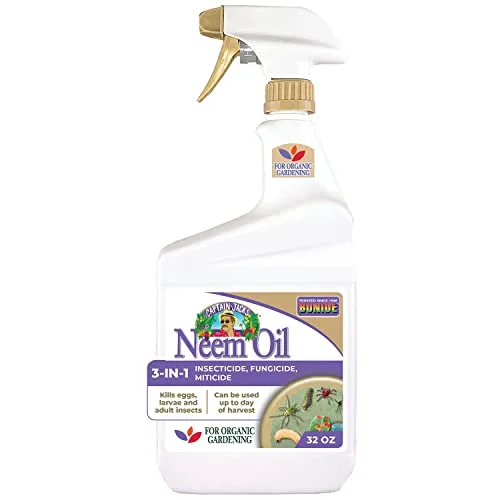
If an infestation gets out of hand, use Neem Oil or Insecticidal Soap. These are organic, safe for humans, and break down quickly. Spray them in the evening (never in the blazing sun, or the oil will fry the leaves).
The ultimate pest control, however, is simply plant health. A stressed plant (one that is underwatered or starved of nutrients) emits chemical signals that actually attract pests. A healthy, vigorously growing plant can fend off most minor attacks on its own.
Conclusion: The First Harvest
There is a specific kind of quiet satisfaction that comes from stepping out onto your patio, plucking a handful of cherry tomatoes still warm from the afternoon sun, and eating them right there. You didn’t just buy a product; you facilitated a tiny biological miracle on a concrete slab.
Container gardening is forgiving. If a plant gets too much sun, you move it. If the soil is bad, you dump it out and try again. It scales perfectly to your ambition and your available space. Start small this season. Buy two 5-gallon buckets, some good potting mix, a cherry tomato transplant, and some basil. Water them deeply, feed them well, and watch what happens.
The concrete doesn’t have to stay bare. Happy planting.

- How to Grow Microgreens Without Soil Indoors: Easy Home Method - October 5, 2026
- Microgreens vs. Sprouts: Key Differences, Nutrition, Safety, and Which One to Eat - October 5, 2026
- 10 Best Garden Tools For Weed Removal 2027 - October 3, 2026